Few things are more frustrating than stepping out of the shower and feeling that familiar, sticky dryness on your skin, or pulling glasses out of the dishwasher only to find them coated in cloudy spots. You invested in a water softener to avoid exactly these problems, so it can be disheartening when hard water returns.
Before you panic or start shopping for a replacement unit, take a deep breath. Many water softener issues are relatively minor and can be resolved with a little DIY know-how. Understanding how your system works and identifying common hiccups can save you a significant amount of time and money. This guide walks you through the most frequent culprits behind softener failure and provides actionable steps to get your soft water flowing again.
Why is My Water Softener Not Using Salt?
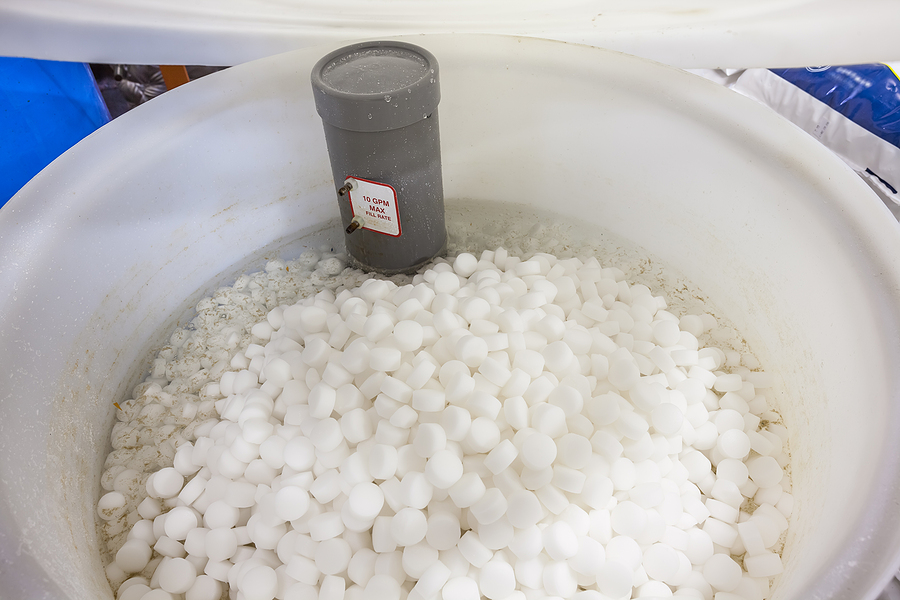
If your salt level never seems to go down, or if you have hard water despite a full brine tank, you are likely dealing with a salt bridge.
A salt bridge is a hard crust that forms at the top of the salt pile. To the naked eye, the tank looks full, but underneath that crust is an empty space where the salt is not making contact with the water. Without that contact, the system cannot create the brine solution needed to clean (regenerate) the resin beads.
How to fix a salt bridge:
- Probe the salt: Take a broom handle or a long, blunt tool and gently push it down into the salt pile.
- Break the crust: If you hit a hard layer before reaching the bottom, apply a bit of pressure to break through. You should feel the salt collapse.
- Redistribute: Break up any large chunks and mix the salt around to ensure it falls into the water below.
What is Salt Mushing and How Do I Fix It?
While a salt bridge happens at the top of the tank, salt mushing occurs at the bottom. This happens when dissolved salt recrystallizes and forms a thick sludge or “mush” at the base of the brine tank. This sludge blocks the base of the tank, preventing the brine solution from being drawn up into the resin tank during regeneration.
How to clear salt mushing:
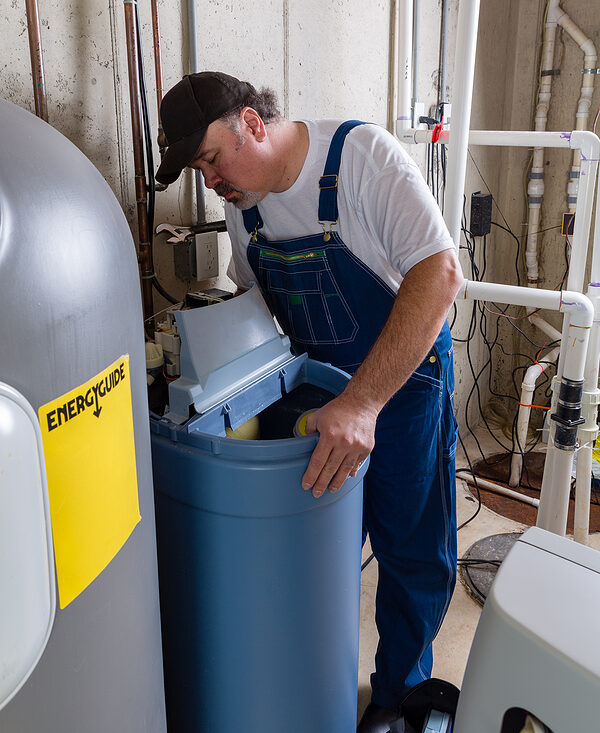
- Empty the tank: You will need to scoop out all the salt and water. This is a bit of a messy job, so have buckets ready.
- Remove the sludge: Once the loose salt is out, dig out the thick sludge at the bottom.
- Clean the tank: Scrub the inside of the brine tank with warm, soapy water to remove any remaining residue.
- Refill: Add fresh, high-quality salt pellets.
Why is My Water Softener Making Noise but Not Softening?
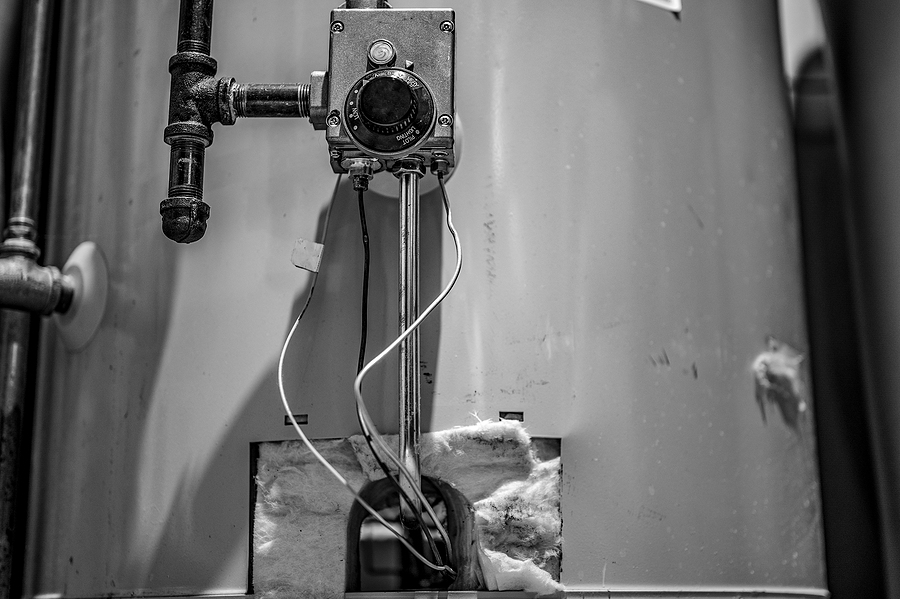
If your unit sounds like it is running but the water remains hard, you may have a clogged injector or venturi valve.
The injector and venturi are small nozzles responsible for creating the suction that pulls the brine solution from the salt tank into the resin tank. Because these openings are very small, they are prone to clogging with sediment, dirt, or debris. When they clog, the system goes through the motions of regeneration but fails to actually clean the resin beads.
How to clean the venturi and injector:
- Bypass the unit: Turn the bypass valve to shut off water flow to the softener.
- Release pressure: Start a manual regeneration cycle to relieve internal water pressure.
- Locate the assembly: On most units, this is located on the top of the control valve, often under a cap. (Consult your owner’s manual for the specific location).
- Disassemble and clean: Unscrew the cap and remove the nozzle and throat. Clean the internal parts with warm, soapy water.
- Use a soft tool: If there is debris stuck in the tiny holes, use a wooden toothpick or a soft brush. Do not use metal pins or needles, as scratching the plastic can alter the flow rate and damage the part.
- Reassemble: Put the parts back together, turn the water back on, and run a manual regeneration.
Request a Water Softener Inspection in Indianapolis ✅
When Should I Replace the Resin Beads?
Sometimes the mechanical parts are working fine, but the chemistry inside the tank has failed. The resin beads are the workhorses of your system; they are responsible for trapping the calcium and magnesium minerals.
Over time, these beads can break down or become coated in organic matter, iron, or chlorine. While resin beads typically last 10 to 15 years, high levels of chlorine in city water can degrade them faster.
Signs your resin bed is failing:
- Your water pressure has dropped significantly (caused by fragmented beads clogging the lines).
- You find small, sand-like particles in your sink or bathtub screens.
- The system uses salt but the water stays hard.
If the resin is simply fouled by iron, you may be able to revive it using a commercial resin bed cleaner. However, if the beads have physically broken down (turned to mush), the old resin must be vacuumed out and replaced.
How Can I Prevent Water Softener Problems?
Preventative maintenance is always easier than emergency repairs. By following a few simple habits, you can extend the life of your appliance and keep your water quality consistent.
- Use the right salt: Avoid rock salt, which contains high levels of insolubles and dirt that cause clogging and mushing. Opt for evaporated salt pellets or solar salt crystals with high purity ratings.
- Don’t overfill the tank: Keep the salt tank about half full. Filling it to the brim increases the weight and pressure on the bottom salt, leading to bridges and mushing.
- Use a resin cleaner: If you have iron in your water, pour a bottle of resin bed cleaner into the brine well once every six months to strip iron deposits from the beads.
- Check your settings: If your power goes out, ensure the timer hasn’t reset. If the time is wrong, the softener might regenerate while you are showering, filling your pipes with hard water.
When Should I Call a Professional?
While many issues are DIY-friendly, some situations require the tools and expertise of a professional plumber. Attempting complex repairs without the right knowledge can void your warranty or lead to water damage in your home.
You should consider calling for service if:
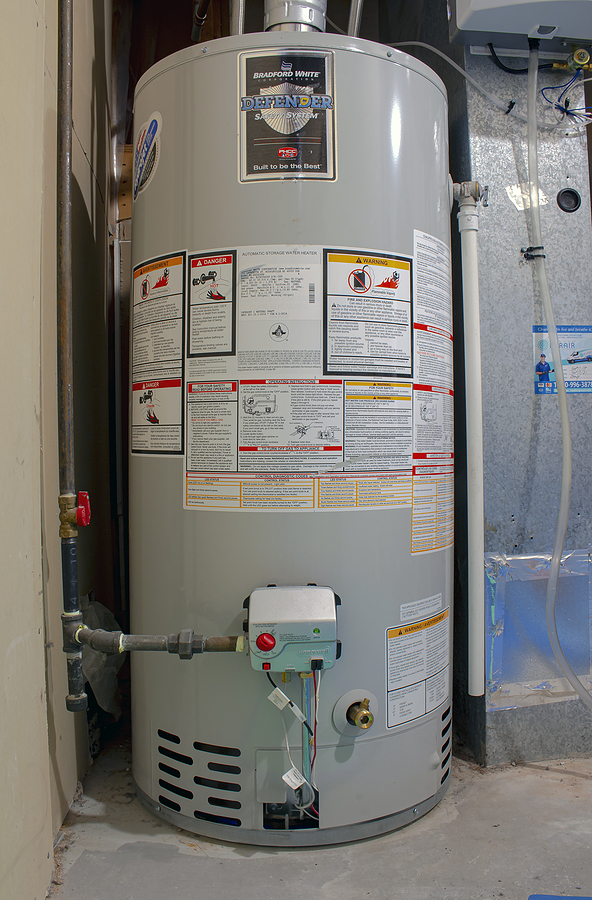
- There is a leak: If the resin tank (the tall fiberglass tank) is cracked or leaking, it typically cannot be patched and must be replaced.
- The motor has failed: If the unit is plugged in but the motor won’t turn or makes a loud grinding noise, the motor or the gears inside the valve head likely need replacement.
- The water tastes salty: If your water tastes salty after regeneration, a valve may be stuck open, continuously draining brine into your water lines.
- You are uncomfortable working with plumbing: If the troubleshooting steps involve taking apart complex valve assemblies and you aren’t confident, it is safer to call a pro.
Restore Your Home’s Water Quality
A water softener is an essential part of maintaining a comfortable home and protecting your plumbing from scale buildup. By keeping an eye out for salt bridges, keeping the venturi valve clean, and using high-quality salt, you can solve the majority of common issues on your own.
However, if you have tried these troubleshooting steps and your water is still hard, or if you are dealing with a leak or mechanical failure, don’t let the problem linger.
Need expert help in Indianapolis? If you are located in the Indianapolis area and need professional assistance, our team is here to help. Whether you need a simple tune-up, resin replacement, or a new system installation, we ensure your water is soft, clean, and pure. Contact Us Today to schedule your water softener service.
Related Post: Best Water Softener Brands for Your Home