Your water heater works quietly in the background every single day—heating showers, filling dishwashers, running laundry. It’s easy to forget it even exists. Until it fails.
Most homeowners don’t think about their water heater until something goes wrong. But catching the warning signs early can save you from a cold shower surprise, a flooded utility room, or a skyrocketing energy bill. This guide walks you through everything you need to know—from recognizing the signs of a failing unit to choosing the right replacement for your home.
Signs Your Water Heater Is Failing
Not every water heater announces its failure loudly. Some units decline gradually, draining your energy budget and comfort level long before they fully give out. Here are the key warning signs to watch for.
Age of the Unit
The average conventional tank water heater lasts between 8 and 12 years. Once your unit crosses that threshold, it’s no longer a question of if it will fail—it’s a question of when. A water heater that is 15 years or older should be replaced, even if it appears to be functioning. At that age, the unit is almost certainly running inefficiently, and any repair costs are money better spent on a new installation.
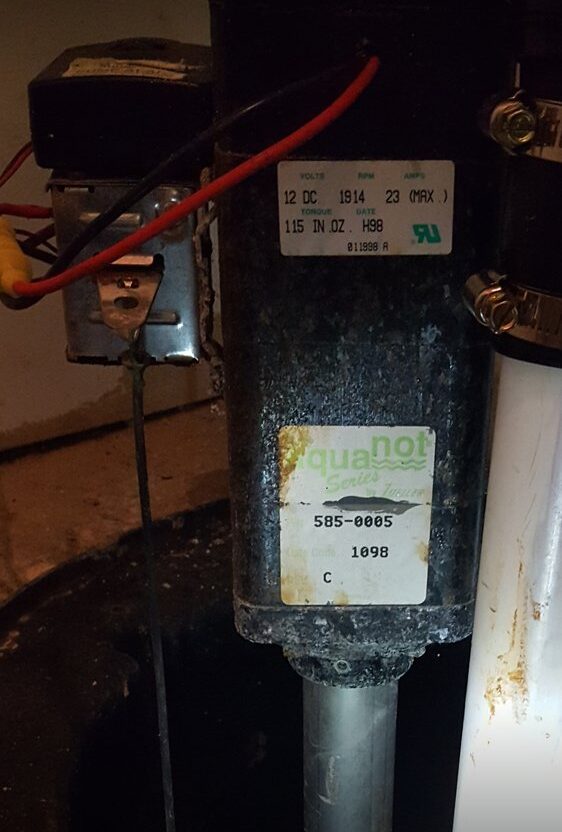
Not sure how old your unit is? Check the serial number on the rating plate. Most manufacturers encode the manufacture date in the first few digits of the serial number.
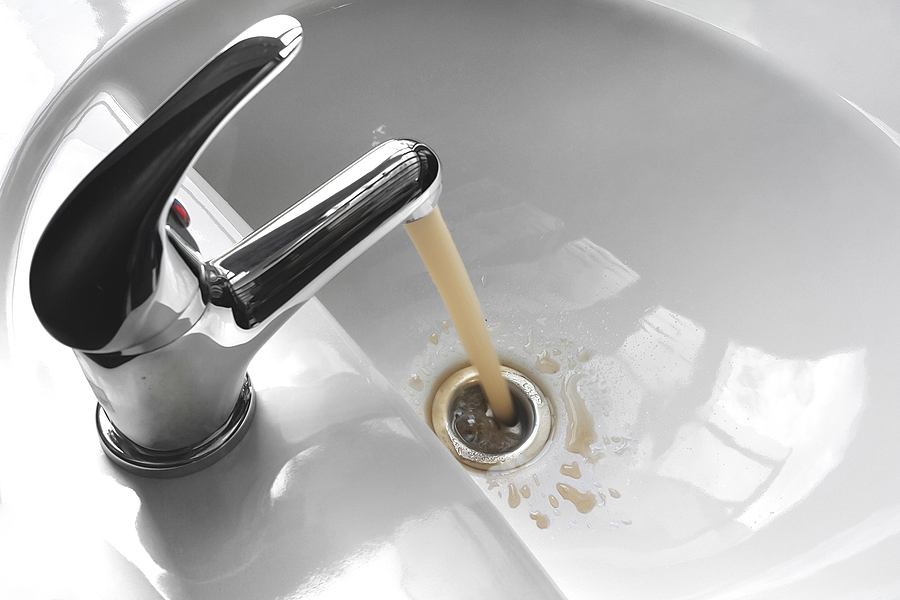
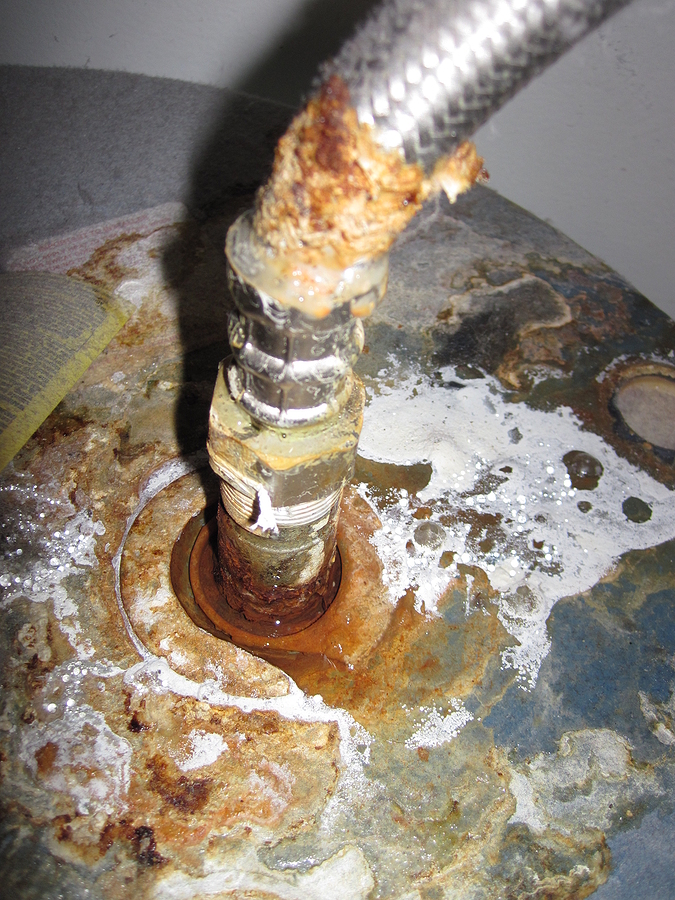
Rusty or Discolored Water
If your hot water has a reddish or brownish tint, or carries a metallic taste, corrosion has likely taken hold inside the tank. Once the interior of a tank begins to rust, no repair can reverse it. This is a definitive sign that replacement is necessary—and the sooner, the better, since a corroded tank is at risk of leaking.
Strange Noises
Rumbling, popping, or banging sounds from your water heater are caused by sediment buildup at the bottom of the tank. Over time, minerals in your water supply settle and harden, forcing the heating element to work harder. Flushing the tank can sometimes help in younger units. But in a water heater that’s 8 years or older, sediment has often caused irreversible damage to the tank lining—and those noises are a warning that failure is approaching.
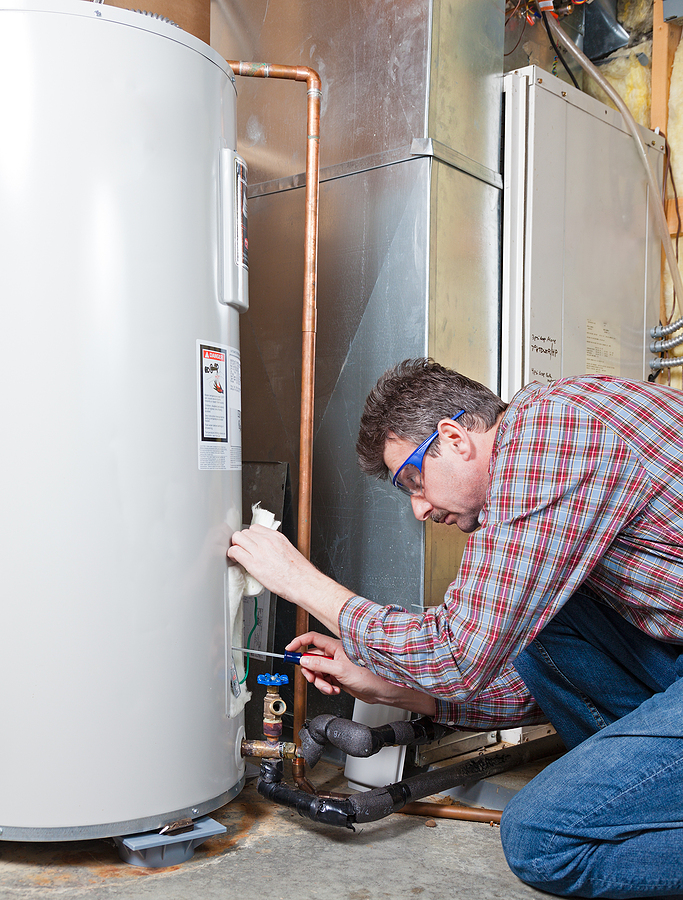
Leaks and Puddles
Any moisture around the base of your water heater warrants immediate attention. Leaking valves and fittings can often be repaired. But if water is seeping from the tank itself, replacement is your only option. A leaking tank near living areas can cause extensive—and expensive—structural damage to your home.
Inconsistent Water Temperature
Running out of hot water mid-shower, or noticing that your water never gets as hot as it used to, points to a failing thermostat or heating element. In younger units, these are often straightforward fixes. In an aging water heater, however, inconsistent temperatures are a sign of broader decline. Repairing the thermostat may buy you a few more months, but another component is likely to fail soon after.
The Financial Impact of an Old Water Heater
An aging water heater doesn’t just become unreliable—it becomes expensive. The financial costs accumulate in two main ways.
Increased Energy Bills
Water heating accounts for nearly 20% of a home’s energy costs, according to the U.S. Department of Energy. As a water heater ages and accumulates sediment, it works harder to heat the same amount of water, consuming more energy in the process. That inefficiency shows up directly on your monthly utility bill.
Frequent Repair Costs
One repair on an older unit rarely stays one repair. If your water heater has required professional service twice or more in the past 18 months, the system is failing incrementally. Each fix delays the inevitable while adding to your total spend. A practical rule of thumb: if a repair costs more than 50% of the price of a new unit, replacement is the smarter financial decision.
Making the Replacement Decision
When Repairing Makes Sense
Repair is a reasonable choice when your unit is fewer than 8 years old, the repair cost is well under 50% of a replacement unit’s price, and this is the first time the system has required service. A $150 thermostat replacement on a 5-year-old water heater, for example, is a sound investment.
When to Replace
Replace your water heater if it is 10 years or older and showing signs of failure, has required multiple repairs in the past two years, has a leaking or corroded tank, or if the repair cost exceeds 50% of a new unit’s price. For units 15 years or older, replacement is always the right call—regardless of how the repair cost compares.
Benefits of a New Water Heater
Energy Efficiency
Modern water heaters are significantly more efficient than units manufactured a decade ago. Upgrading from an older tank to a new high-efficiency model reduces energy consumption immediately, lowering your monthly utility bill from day one.
Reliability and Performance
A new water heater delivers consistent hot water without the unpredictability of aging components. You won’t have to worry about running out mid-shower or waking up to unexpected cold water.
Enhanced Safety Features
Older water heaters can pose safety risks, including the buildup of excess pressure and inadequate temperature controls. Modern units come equipped with improved pressure relief valves, better insulation, and electronic controls that help protect your home and family.
Choosing the Right Water Heater for Your Home
Sizing Considerations
Choosing the right size ensures you have enough hot water without wasting energy on capacity you don’t need. For a household of two to three people, a 40- to 50-gallon tank is typically sufficient. Larger families may need 65 to 80 gallons. For tankless units, sizing is based on flow rate and temperature rise rather than tank volume.
Fuel Type
Your current fuel source—gas, electric, or propane—will influence your options. Switching from one fuel type to another is possible but may require additional installation work. Electric heat pump water heaters are worth considering for electric homes, especially given current federal tax incentives.
Efficiency Ratings
Look for the Uniform Energy Factor (UEF) rating when comparing units. The higher the UEF, the more efficient the water heater is. ENERGY STAR certified models meet strict efficiency guidelines set by the U.S. Environmental Protection Agency and often qualify for rebates and tax credits.
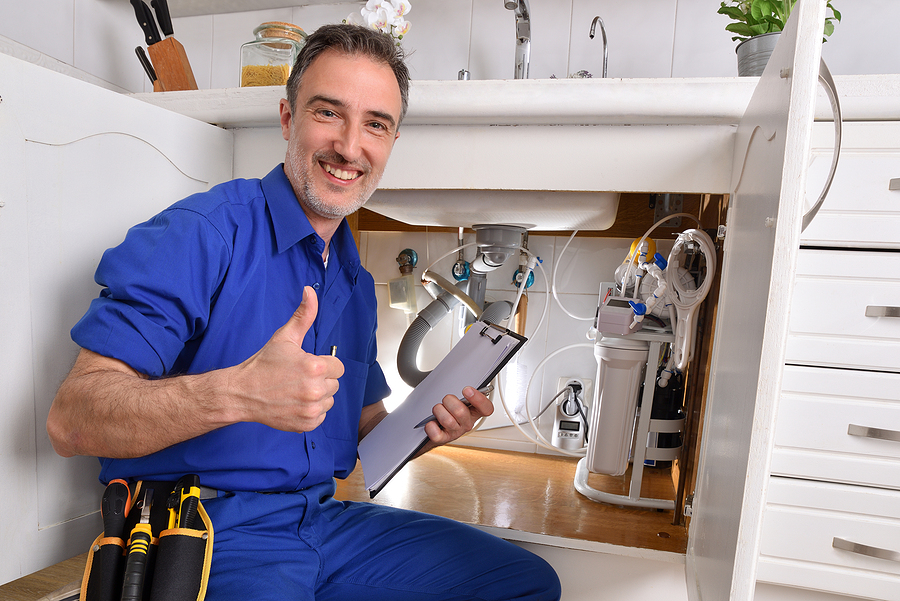
Professional Installation for Optimal Performance
Proper installation is just as important as choosing the right unit. A licensed plumber ensures your water heater is installed to code, connected correctly, and set up with the right safety components—including a thermal expansion tank and pressure relief valve. Professional water heater installation also protects your manufacturer’s warranty, which can be voided by improper DIY work.
Frequently Asked Questions About Water Heater Replacement
How long does a water heater typically last?
Conventional tank water heaters last 8 to 12 years. Tankless models can last up to 20 years, and heat pump water heaters typically last 13 to 15 years.
What is the 50% rule for water heater repair?
If the cost of a repair exceeds 50% of the price of a new water heater, replacement is typically the better financial decision—especially for older units.
Will a new water heater lower my energy bills?
Yes. Older units lose efficiency over time due to sediment buildup and aging components. Upgrading to a modern, high-efficiency model can reduce water heating costs significantly.
Can I replace my water heater myself?
It is not recommended. Water heater installation involves gas lines or high-voltage electrical connections, code compliance requirements, and safety components that require a licensed professional to install correctly.
What size water heater do I need?
For most households, a 40- to 50-gallon tank is sufficient for two to three people. Larger households typically need 65 to 80 gallons. A licensed plumber can help you determine the right size based on your usage and home setup.
Don’t Wait for a Cold Surprise
An aging water heater rarely fails all at once. It gives signals—strange sounds, rusty water, rising energy bills—that something is wrong. Paying attention to those signs early gives you the time to choose a replacement on your terms, rather than scrambling after an emergency.
Whether your current unit is approaching the end of its lifespan or already showing signs of decline, replacing it sooner rather than later is almost always the more cost-effective and stress-free decision.
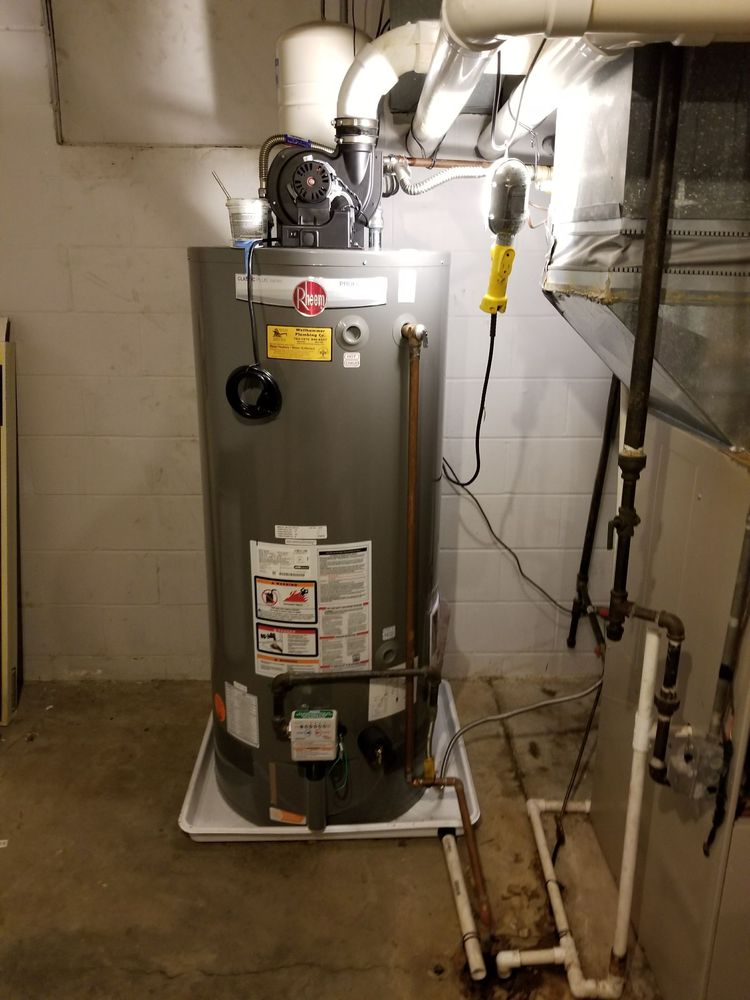
Ready to replace your old water heater? Take advantage of our current special offer: get a premium Rheem 50-Gallon Water Heater installed for just $1,899. The price includes professional installation, a thermal expansion tank, safety pin, and FREE haul-away of your old unit. Contact us today to schedule your replacement and start enjoying reliable hot water from day one.
Related Posts:
Choosing a New Water Heater: A Guide for Residential Property Owners
Rheem Water Heater Warranty: What You Need to Know Before You Buy
Common Signs That Suggest You Need Hot Water Heater Replacement Service