TL;DR: Plumbing emergencies rarely happen at convenient times. This guide outlines the essential tools every Indianapolis homeowner should keep on hand to handle basic repairs, save money on service calls, and prevent minor leaks from becoming major disasters. It also covers step-by-step usage and when to call a professional.
Key Takeaways:
- Preparation is key: owning the right tools can stop a plumbing emergency in its tracks.
- Know your tools: specific jobs require specific tools, like using a flange plunger for toilets and a cup plunger for sinks.
- Respect your limits: knowing when to put down the wrench and call a professional can save your home from water damage.
- Safety first: always know where your main water shut-off valve is located.
Table of Contents:
- Why Every Homeowner Needs Plumbing Tools
- Essential Tools to Have
- What is a Plunger and How Do I Use It?
- What is Plumber’s Tape and How Do I Use It?
- What is an Adjustable Wrench and How Do I Use It?
- What is a Basin Wrench and How Do I Use It?
- What is a Pipe Wrench and How Do I Use It?
- What are Pliers and How Do I Use Them?
- What is a Hacksaw and How Do I Use It?
- What is a Drain Snake and How Do I Use It?
- What is a Wet/Dry Vacuum and How Do I Use It?
- When Should I Call a Professional Plumber?
- FAQ
- Conclusion
Why Every Homeowner Needs Plumbing Tools
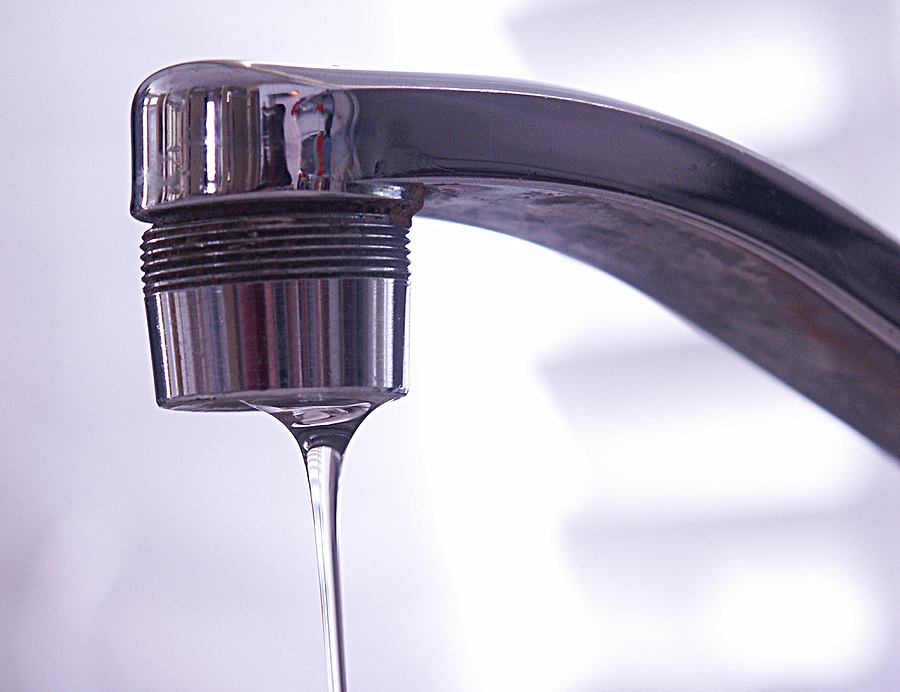
Owning a home is a rewarding experience, but it comes with the responsibility of maintenance. A sudden leak or a clogged drain can cause significant stress—and potential damage—if you aren’t prepared.
While major installations and complex repairs should always be handled by licensed professionals, many minor issues are solvable with a well-stocked toolbox. Having these essential plumbing tools ready allows you to act fast during an emergency, potentially saving you hundreds of dollars in water damage and emergency service fees.
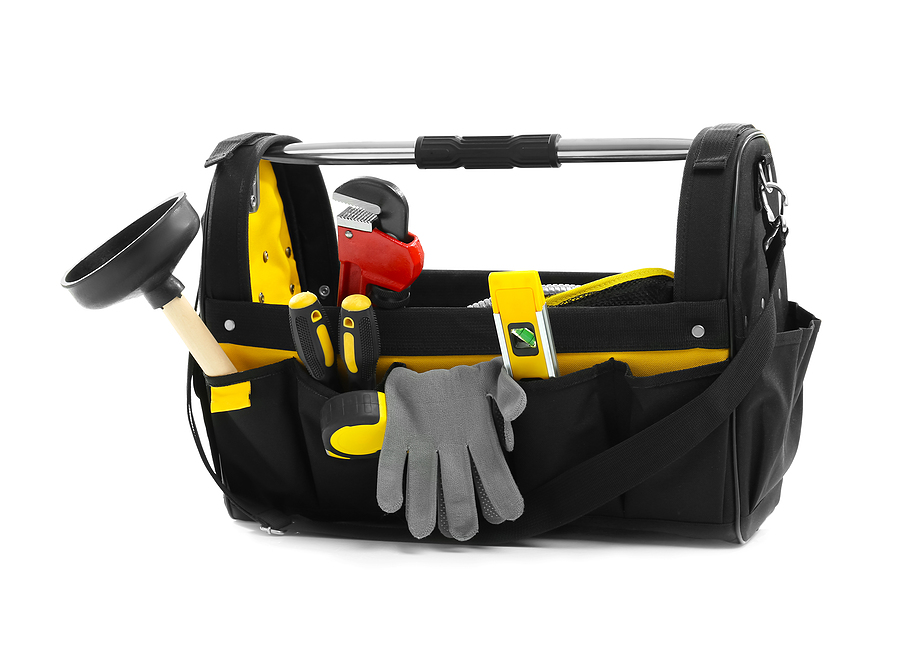
Essential Plumbing Tools
- Plunger
- Plumber’s Tape
- Adjustable Wrench
- Basin Wrench
- Pipe Wrench
- Pliers
- Hacksaw
- Drain Snake
- Wet/Dry Vacuum
What is a Plunger and How Do I Use It?
The plunger is the first line of defense against clogs. However, not all plungers are created equal. You should ideally own two types: a cup plunger (for flat surfaces like sinks and tubs) and a flange plunger (for toilets).
How to use it:
- Choose the right plunger: Use a flange plunger for toilets. The extra flap of rubber creates a better seal in the curved drain.
- Create a seal: Ensure there is enough water in the bowl or basin to cover the rubber cup. If the water level is too low, add water.
- Plunge correctly: Place the cup over the drain to create a tight vacuum seal. Push down and pull up vigorously for about 20 seconds, maintaining the seal the entire time. The suction is what dislodges the clog, not just the pushing pressure.
What is Plumber’s Tape and How Do I Use It?
Also known as PTFE tape or Teflon tape, this thin white tape is essential for preventing leaks at threaded connections. It lubricates the threads for a tighter fit and acts as a sealant.
How to use it:
- Clean the threads: Wipe the threads of the pipe clean before applying.
- Wrap clockwise: This is the most crucial step. hold the pipe in your left hand and the tape in your right. Wrap the tape in the direction the pipe will turn (clockwise, or “righty-tighty”). If you wrap it backward, the tape will unravel when you tighten the fitting.
- Don’t overdo it: Wrap the tape around the threads 2 to 3 times. Pull it taut so it settles into the grooves, then snap it off.
What is an Adjustable Wrench and How Do I Use It?
This versatile tool acts as a distinct “all-in-one” solution for hex-shaped nuts. Because the jaw size is adjustable, you don’t need a full set of fixed wrenches for most basic plumbing tasks, such as tightening a supply line or replacing a showerhead.
How to use it:
- Size it up: Place the jaws over the nut and tighten the thumb screw until the wrench fits snugly. A loose fit can round off the edges of the nut, making it impossible to remove.
- Turn correctly: Pull the handle toward the adjustable jaw side for maximum strength and to prevent the wrench from slipping.
What is a Basin Wrench and How Do I Use It?
If you have ever tried to tighten a faucet mounting nut underneath a sink, you know it is a cramped, dark, and frustrating space. A basin wrench is a specialized tool with a long shaft and a swiveling jaw designed specifically for this hard-to-reach area.
How to use it:
- Position the head: Pivot the jaw of the wrench so it is perpendicular to the shaft.
- Latch onto the nut: Reach up behind the sink basin and clamp the jaws onto the mounting nut.
- Turn the shaft: Use the T-bar handle at the bottom to turn the shaft, tightening or loosening the nut far above your head.
What is a Pipe Wrench and How Do I Use It?
These large, heavy tools are designed for gripping and turning round iron or galvanized steel pipes. They have serrated teeth that dig into the metal for a secure grip.
How to use it:
- Adjust the gap: Leave a small gap between the back of the hook jaw and the pipe. The wrench grips by wedging against the pipe, not by compressing it like a clamp.
- Protect the finish: Never use a pipe wrench on shiny fixtures or plated pipes (like chrome), as the teeth will permanently damage the finish. Use a strap wrench or a cloth barrier for those items.
What are Pliers and How Do I Use Them?
specifically, tongue-and-groove pliers (often called Channellocks) are vital. These have adjustable jaws that can open wide to grip large irregular objects, making them perfect for many plumbing fittings.
How to use them:
- Adjust the size: Open the jaws and slide the pivot point to the groove that matches the size of the object you are gripping.
- Grip firmly: The long handles provide excellent leverage. Squeeze the handles to maintain a firm grip while turning.
What is a Hacksaw and How Do I Use It?
A hacksaw is used for cutting through metal pipe, plastic (PVC) pipe, screws, and bolts. It is a necessary tool if you are replacing sections of piping or removing stubborn, rusted nuts that won’t turn.
How to use it:
- Secure the item: Always clamp the pipe or object you are cutting to prevent it from rolling.
- Apply pressure forward: Hacksaw blades cut on the push stroke. Apply downward pressure as you push forward, and ease up as you pull back.
- Keep it straight: Use slow, steady strokes to ensure a clean, square cut.
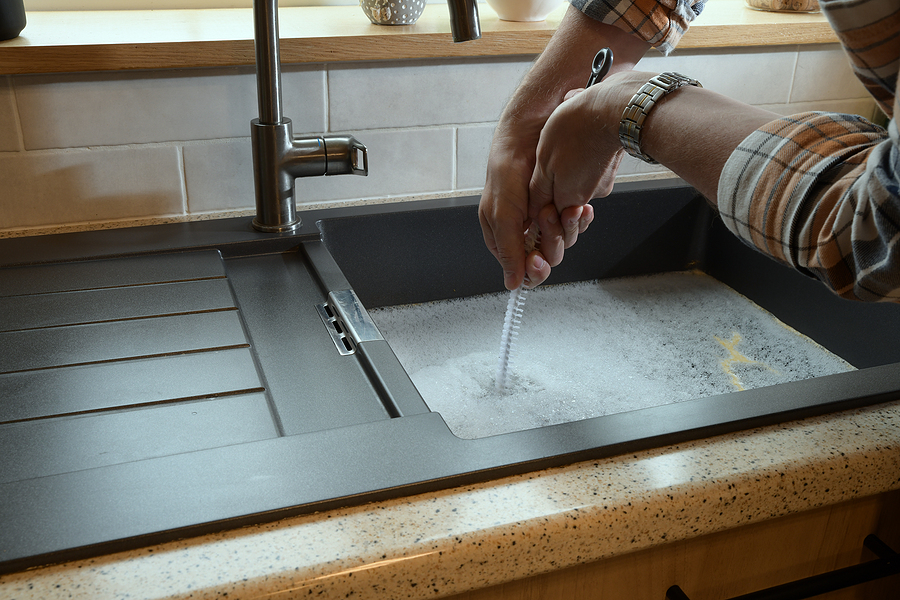
What is a Drain Snake and How Do I Use It?
When the plunger fails, the drain snake (or hand auger) is your next best option. It is a long, flexible metal cable that goes deep into the pipe to break up or retrieve clogs.
How to use it:
- Feed the cable: Loosen the thumbscrew and push the cable into the drain by hand until you feel resistance (the clog).
- Rotate and push: Tighten the thumbscrew. Rotate the handle clockwise while gently pushing forward. This helps the tip of the snake bore into the obstruction.
- Retrieve or break: If you hook the clog (like hair), pull it out. If it’s a solid mass, the snake may break it up so it can flush away. Warning: Do not force the snake if it hits a hard stop; you could damage the pipe.
What is a Wet/Dry Vacuum and How Do I Use It?
While not strictly a “repair” tool, a wet/dry vac is indispensable for the cleanup phase. Plumbing repairs are messy, and a burst pipe can leave gallons of water on your floor in minutes.
How to use it:
- Prepare for water: Remove the paper filter (used for dry dust) before sucking up water.
- Extract water: Use the vacuum to remove water from a toilet bowl before replacing the wax ring, or to suck up standing water from a leak to prevent floor damage and mold growth.
When Should I Call a Professional Plumber?
While these tools empower you to handle minor issues, some situations require the expertise of a licensed professional. In Indianapolis, where older homes and freezing winters present unique challenges, knowing when to call for help is crucial.
You should contact a professional if:
- Sewage backup: If water backs up into your bathtub when you flush the toilet, you may have a main sewer line blockage. This is a health hazard requiring professional equipment.
- Frozen pipes: If you suspect a pipe has frozen, improper thawing can cause it to burst. Professionals have the tools to thaw frozen pipes safely.
- No hot water: Troubleshooting water heaters (especially gas units) can be dangerous.
- Low water pressure: If pressure drops throughout the entire house, it could indicate a major leak or municipal supply issue.
- Gas smells: If you smell sulfur or rotten eggs, evacuate immediately and call the utility company and a master plumber.
FAQ
What are the most common plumbing problems homeowners face?
The most frequent issues include dripping faucets, slow-draining sinks, clogged toilets, and running toilets. Many of these can be fixed with the tools listed above.
How can I prevent plumbing issues?
Regular maintenance is key. Avoid pouring grease down the kitchen sink, use hair catchers in shower drains, and insulate your pipes before the Indianapolis winter sets in.
What should I do in a plumbing emergency?
The very first step is to shut off the main water supply to the house. Every family member should know where this valve is located (usually in the basement, crawl space, or near the water meter).
How often should I have my plumbing system inspected?
It is recommended to have a professional inspection once a year, or if you purchase an older home. This can catch hidden leaks or corrosion before they become major failures.
Quick Recap
- Plumbing emergencies can be minimized by taking proactive steps, such as knowing where the main water valve is located and ensuring it can be shut off quickly in times of need.
- Regular annual inspections by a professional plumber are essential to prevent hidden leaks, corrosion, and other potential issues.
- Whether you’re dealing with an urgent emergency or practicing routine maintenance, these steps ensure the safety and functionality of your plumbing system.
Conclusion
Building a basic plumbing toolkit is an investment in your home. By keeping tools like a plunger, adjustable wrench, and drain snake on hand, you can handle simple repairs confidently and swiftly. However, always prioritize the safety of your home and family. If a job feels too big or dangerous,
Need Reliable Plumbing Assistance in Indianapolis? Don’t wait until a minor issue turns into a major problem. Contact our team of professional plumbers today for expert service! Whether it’s routine inspections, emergency repairs, or system upgrades, we’re here to help. Call Us Now or Schedule Your Appointment Online to safeguard your home’s plumbing.
Related Post: DIY Plumbing Repair: The Do’s and Don’ts