A fresh blanket of snow can turn an Indiana winter into a picturesque scene, but those dropping temperatures bring hidden dangers to your home. While you’re bundling up in coats and scarves, the water inside your plumbing system is at risk of freezing. A frozen pipe isn’t just a minor inconvenience that stops the water flow; it’s a ticking time bomb that can lead to catastrophic bursts and thousands of dollars in water damage.
Winterizing your home is an essential part of responsible homeownership. By taking a few proactive steps before and during the coldest months, you can safeguard your property against the harsh elements. This guide explores why pipes freeze, how to prepare your home, and what steps to take if you find yourself facing a plumbing emergency.
Why Frozen Pipes Are a Major Problem
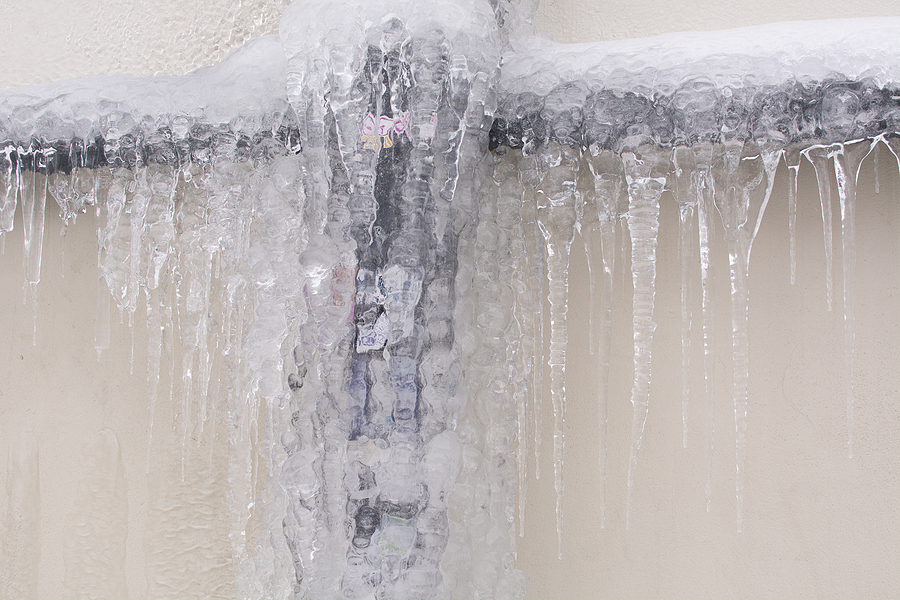
Water has a unique property that makes it particularly dangerous for your plumbing: it expands when it freezes. This expansion puts tremendous pressure on whatever is containing it, whether that’s metal or plastic piping. No matter the strength of the container, expanding water can cause pipes to break.
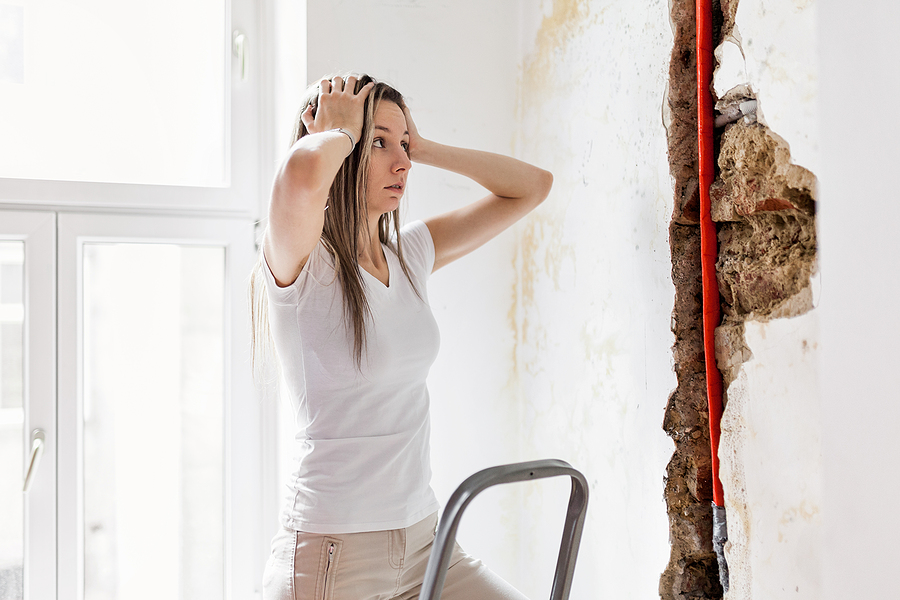
The damage often isn’t immediately visible. A crack as small as one-eighth of an inch can spew up to 250 gallons of water a day, causing flooding, structural damage, and the potential for mold growth. The pipes most at risk are those located in unheated interior spaces such as basements, attics, and garages. However, even pipes running through cabinets or exterior walls can freeze if the temperature drops low enough.
Understanding these risks underscores why preparation is not just recommended—it is necessary.
Plumbing Preparation Before Winter Hits
The best time to protect your home is before the first deep freeze settles in. Taking preventative measures in the fall can save you significant stress and expense later.
Insulate Your Pipes
Insulation acts as a barrier, keeping the heat in and the cold out. Focus on insulating pipes in unheated areas like the garage, crawl spaces, and the attic. You can purchase pipe sleeves or UL-listed heat tape from your local hardware store. Even a quarter-inch of newspaper can provide some degree of protection in areas that usually don’t see frequent freezing temperatures, though professional insulation materials are far more effective.
Seal Leaks and Cracks
Cold air drafts are a pipe’s worst enemy. Inspect your home for cracks and openings around windows, doors, and sill plates where the house rests on its foundation. Seal these gaps with caulk or insulation to keep cold air from reaching your plumbing. Don’t forget to seal basements and crawl spaces as tightly as possible; if you have a crawl space, use vents and doors to eliminate drafts.
Manage Outdoor Plumbing
Outdoor hoses and faucets are often the first to freeze. Disconnect, drain, and store all garden hoses. Close the inside valves supplying outdoor hose bibs, then open the outside hose bibs to allow any remaining water to drain. Keeping the outside valve open ensures that any water left in the pipe can expand without causing the pipe to break.
Request a Home Plumbing Inspection Right Now ✅
Protecting Your Plumbing During Winter Months
Once winter arrives, your daily habits can play a significant role in preventing frozen pipes.
Maintain a Consistent Thermostat
It might be tempting to lower the heat at night or when you’re at work to save on energy bills, but keeping a consistent temperature is safer for your plumbing. Fluctuating temperatures can increase the risk of freezing. If you plan to be away during cold weather, leave the heat on in your home and set the thermostat to a temperature no lower than 55° F.
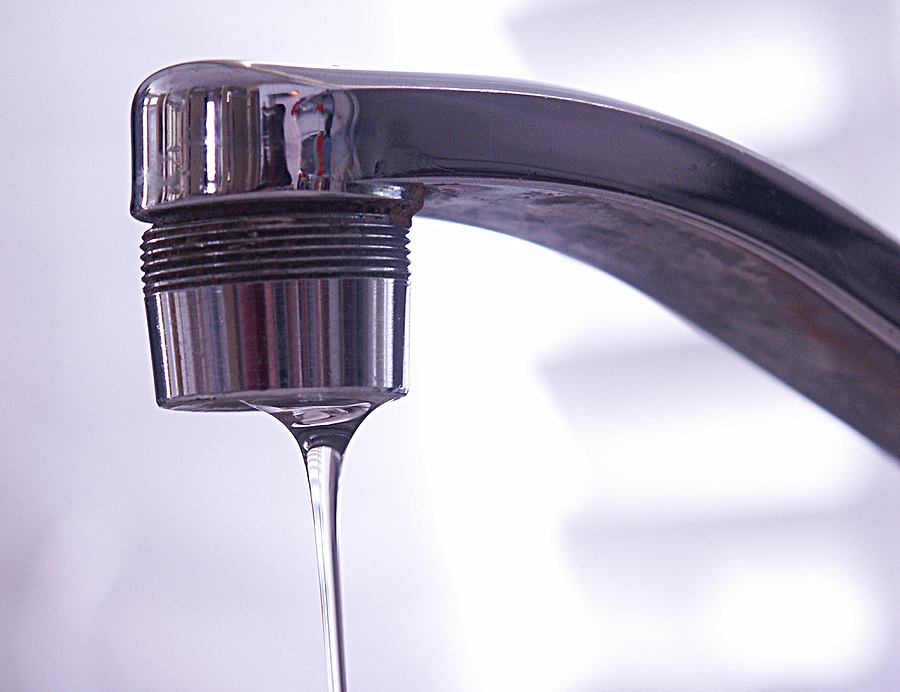
Let Faucets Drip
When the weather outside is extremely cold, let the cold water drip from the faucet served by exposed pipes. Running water through the pipe—even at a trickle—helps prevent pipes from freezing because moving water is harder to freeze than standing water.
Open Cabinet Doors
Pipes located under kitchen and bathroom sinks are often insulated from the room’s heat by cabinet doors. By keeping these doors open, you allow warmer air to circulate around the plumbing. If you have small children or pets, be sure to remove any harmful cleaners or household chemicals from the open cabinets to keep them safe.
Know Your Master Shut-Off Valve
In the event of a burst pipe, speed is everything. Every member of your household should know where the master water shut-off valve is located and how to turn it off. This simple knowledge can be the difference between a minor cleanup and a major disaster.
Steps to Take If Your Pipes Freeze
If you turn on a faucet and only a trickle comes out, suspect a frozen pipe. Likely places for frozen pipes include against exterior walls or where your water service enters your home through the foundation.
Locate the Frozen Section
Check all other faucets in your home to find out if you have additional frozen pipes. If one pipe freezes, others may freeze, too. Once you identify the problem area, keep the faucet open. As you treat the frozen pipe and the frozen area begins to melt, water will begin to flow through the frozen area.
Safe Thawing Techniques
Apply heat to the section of pipe using an electric heating pad wrapped around the pipe, an electric hair dryer, or a portable space heater (kept away from flammable materials). You can also wrap pipes with towels soaked in hot water.
☑ Crucial Safety Warning: Never attempt to thaw a pipe with a torch, kerosene or propane heater, charcoal stove, or other open flame device. This is extremely dangerous and can damage the pipes or even start a fire.
Apply heat until full water pressure is restored. If you are unable to locate the frozen area, if the frozen area is not accessible, or if you simply cannot thaw the pipe, do not hesitate to seek professional help.
When to Call a Professional Plumber
While many minor issues can be handled with DIY methods, knowing when to call a professional is vital. You should contact a licensed plumber if:
- You cannot locate the frozen pipe.
- The pipe has already burst.
- You are unable to thaw the pipe using safe methods.
- You suspect the freezing has occurred outside your home’s main structure (like the water main).
Attempting to fix complex plumbing issues without the proper tools or knowledge can lead to further damage. Professional plumbers have the expertise to safely thaw pipes and repair any damage that has occurred.
Staying Warm and Dry
Winter is a beautiful season, but it demands respect and preparation. By insulating vulnerable pipes, sealing drafts, and maintaining consistent home temperatures, you can significantly reduce the risk of frozen pipes. Remember, a little preparation goes a long way in protecting your home from water damage.
Stay vigilant during cold snaps, and don’t hesitate to reach out for professional assistance if you suspect a problem. With these tips in hand, you can enjoy the winter season with peace of mind, knowing your home is protected.
Do you need help preparing your home for winter? Weilhammer Plumbing Company is here to help. Whether you need an inspection to identify vulnerable pipes or emergency repairs for a burst line, our team provides reliable master plumber service (License #106214) to keep your home safe and dry.
Related Post: 4 Plumbing Problems That are Common in the Winter