TL;DR: Most running toilets are caused by a faulty flapper, a high water level, or a leaky fill valve. This guide walks you through diagnosing and fixing each issue in under 30 minutes—no plumber required.
Key Takeaways:
- Check the flapper first—it’s the most common culprit
- Adjust the float so the water level sits below the overflow tube
- Replace the fill valve if the water still won’t stop running
Table of Contents:
- Understanding Why Your Toilet is Running
- Step 1: Inspect the Flapper
- Step 2: Adjust the Water Level
- Step 3: Repair or Replace the Fill Valve
- When to Call a Professional
- FAQ
- Quick Recap
- Schedule Toilet Repair in Indianapolis
Understanding Why Your Toilet is Running
A running toilet is more than an annoyance—it’s a quiet drain on your water bill. According to the U.S. Environmental Protection Agency (EPA), a running toilet can waste up to 200 gallons of water every single day. That’s roughly 6,000 gallons a month, all disappearing down the drain without a single flush.
The good news? The fix is often simpler than you’d expect.
A running toilet is typically caused by one of three things: water leaking from the tank into the bowl through a faulty flapper, a float that’s set too high—allowing water to spill into the overflow tube—or a fill valve that’s no longer shutting off properly. Identifying which issue you’re dealing with is the first step toward fixing it.
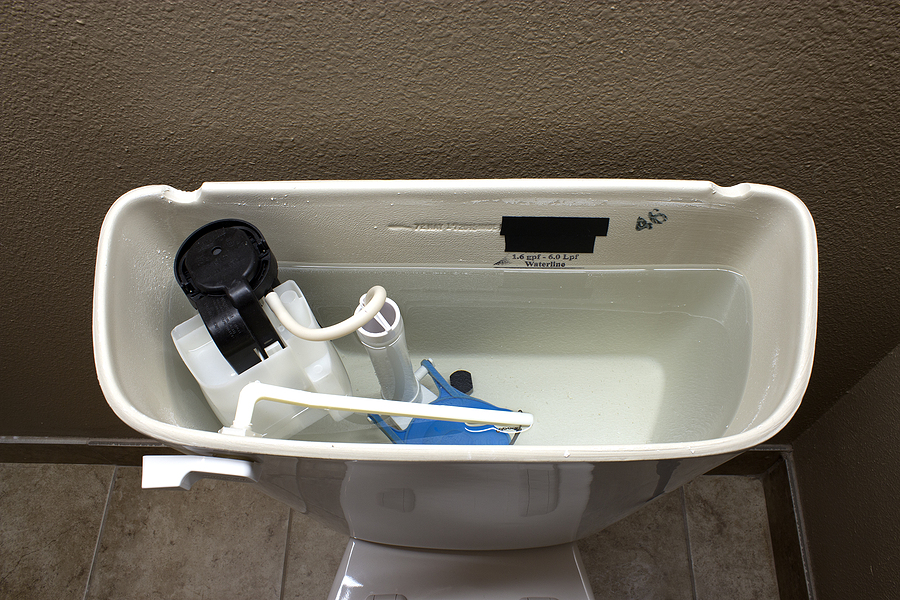
Before you do anything else, turn off the water supply valve located at the base of the toilet and remove the tank lid. Set it somewhere safe. Now you’re ready to diagnose.
Step One: Inspect the Flapper
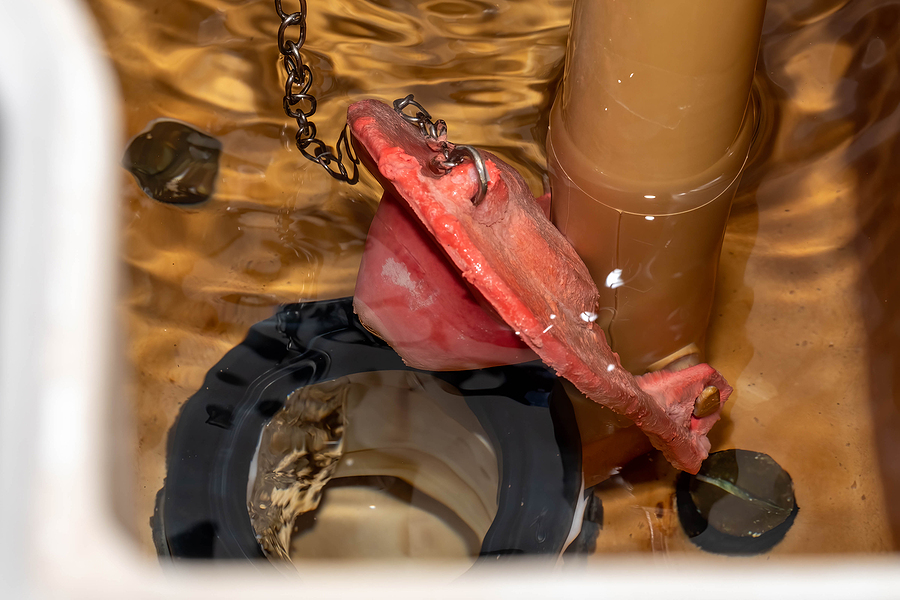
The flapper is the most common cause of a running toilet, so always check here first. The flapper is the rubber seal at the bottom of the tank. Every time you flush, it lifts to let water flow into the bowl, then drops back down to stop the flow. Over time, flappers can warp, crack, or accumulate mineral buildup—and when that happens, they can no longer form a tight seal.
To check if the flapper is leaking:
- Add a few drops of food coloring to the tank
- Wait 15–30 minutes without flushing
- If the color appears in the bowl, your flapper is leaking
Reach into the tank and feel the flapper. It should be soft and flexible. A stiff, brittle, or visibly warped flapper needs replacing. Fortunately, replacement flappers are inexpensive—usually just a few dollars at any hardware store—and most snap on and off in minutes.
While you’re in there, check the chain. The chain connects the flapper to the flush handle. If it’s too long, it can get caught under the flapper and prevent a proper seal. If it’s too short, the flapper won’t close at all. The ideal length leaves about half an inch of slack.
Step Two: Adjust the Water Level
If the flapper isn’t the problem, a water level that’s too high is likely causing water to spill constantly into the overflow tube. Open the tank and look at the overflow tube—the tall open pipe in the middle of the tank. If water is running into or near the top of that tube, your float is sitting too high.
The float is the buoyant device that rises with the water level and tells the fill valve when to shut off. Ideally, the water level should sit one to two inches below the top of the overflow tube. If it’s higher than that, water will drain continuously into the bowl.
To lower the water level:
- Locate the float adjustment screw at the top of the fill valve
- Turn it counterclockwise to lower the float
- Flush and refill the tank to check the new water level
- Repeat until the water stops before reaching the overflow tube
Some older toilets use a ball-cock float—a round ball attached to a metal arm. In that case, gently bend the arm downward to lower the float position.
Step Three: Repair or Replace the Fill Valve
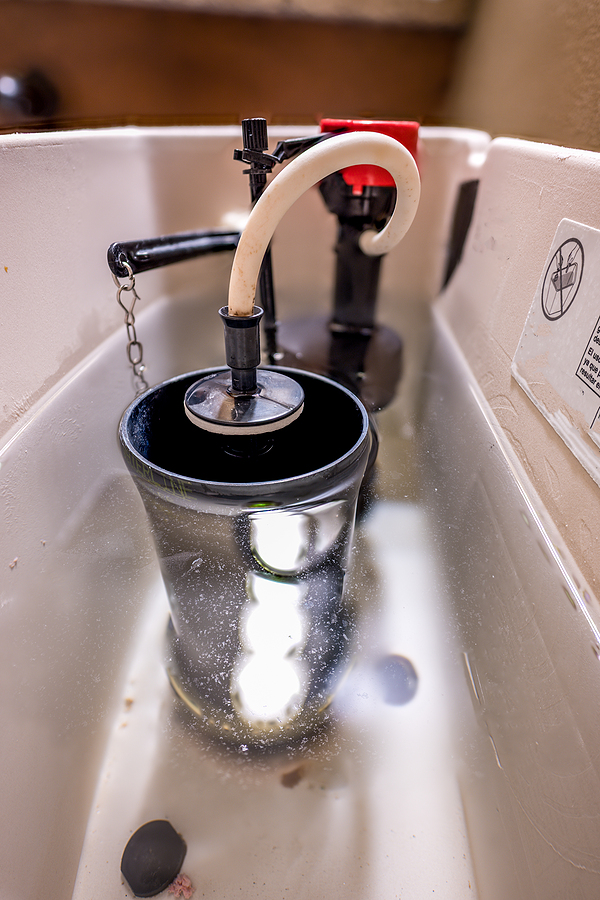
If you’ve adjusted the float and water is still running, the fill valve itself is likely worn out. The fill valve is the tall vertical component that connects to the water supply line and refills the tank after each flush. Inspect the top of the valve—if water is spraying or trickling from it, the internal seal has degraded and replacement is the most reliable solution.
To replace the fill valve:
- Turn off the water supply valve at the base of the toilet
- Flush to drain as much water from the tank as possible
- Use a towel to soak up any remaining water in the tank
- Disconnect the supply line from the bottom of the tank
- Unscrew and remove the old fill valve
- Insert the new valve, following the manufacturer’s instructions
- Reconnect the supply line, turn the water back on, and test
Replacement fill valves are widely available at hardware stores, and many come with detailed instructions. If hard water is common in your area, consider a valve that is rated for mineral-heavy environments—it’ll last significantly longer.
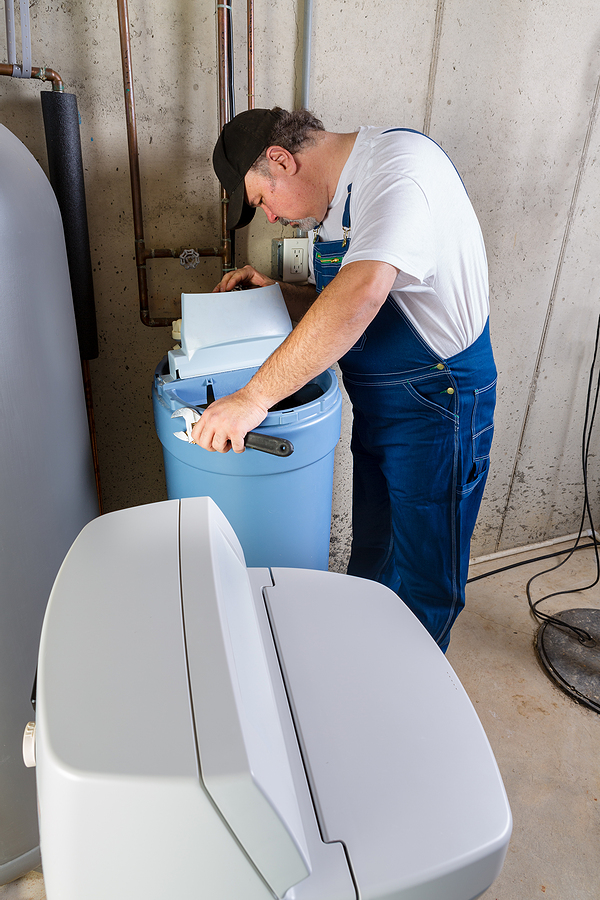
When to Call a Professional Plumber for Toilet Repair
Some toilet problems go beyond a worn flapper or a misbehaving float—and it’s important to recognize when DIY repairs have their limits. Contact a licensed plumber if you notice any of the following:
- Cracked porcelain on the tank or bowl
- Water leaking at the base of the toilet
- Persistent running after replacing the flapper and fill valve
- High water pressure throughout the home, which can cause ongoing toilet issues
- Toilets manufactured before 1994, which may use significantly more than 1.6 gallons per flush and could benefit from full replacement
Need professional help? Schedule professional toilet repair in Indianapolis with Weilhammer Plumbing Company for fast, reliable service.
FAQ
Why does my toilet run every few minutes?
This is called “phantom flushing” and it usually means the flapper is leaking slowly. Water gradually seeps from the tank into the bowl until the level drops low enough to trigger the fill valve. Replacing the flapper typically resolves this.
Why is my toilet running after I flush?
If the toilet keeps running after flushing, the fill valve may not be shutting off properly—often because the float is set too high or the fill valve seal is worn. Work through Steps 2 and 3 above to diagnose the issue.
Why is my toilet running constantly?
Constant running usually means water is either flowing past the flapper into the bowl or spilling into the overflow tube without stopping. Check the flapper seal first, then assess the water level relative to the overflow tube.
Does a running toilet increase my water bill?
Yes, significantly. The EPA notes that a running toilet can waste up to 200 gallons per day—roughly 6,000 gallons per month. Depending on your local water rates, that can add a noticeable amount to your monthly bill.
How much does it cost to fix a running toilet?
DIY repairs are very affordable. A replacement flapper typically costs $5–$15, while a fill valve runs between $10 and $25. If you call a plumber, labor costs vary by location but the repair is generally straightforward and quick for a professional.
Quick Recap:
- Turn off the water supply valve before inspecting the tank
- Check the flapper for warping, brittleness, or chain length issues
- Adjust the float so water levels off 1–2 inches below the overflow tube
- Replace the fill valve if water continues to run after adjustments
- Call a professional if you suspect cracked porcelain, base leaks, or persistent issues
Stop the Waste, Lower Your Bill
A running toilet is one of those problems that’s easy to ignore—until you see the water bill. The underlying cause is almost always mechanical, and in most cases, a new flapper or a quick float adjustment is all it takes to solve it.
Work through the steps in this guide and you’ll likely have your toilet running quietly again within the hour. And if the problem turns out to be more complex, don’t hesitate to call in a professional. A small repair today can prevent a much larger plumbing issue down the line.
Ready to get it fixed? Schedule professional toilet repair in Indianapolis and surrounding counties today for fast, reliable service. Our master plumbers know how to approach your toilet running issue with a quick, long-lasting solution.
Related Post: Do Not Let Your Guests Flush These Things Down the Toilet